
Ai Content Generator
Ai Picture
Tell Your Story

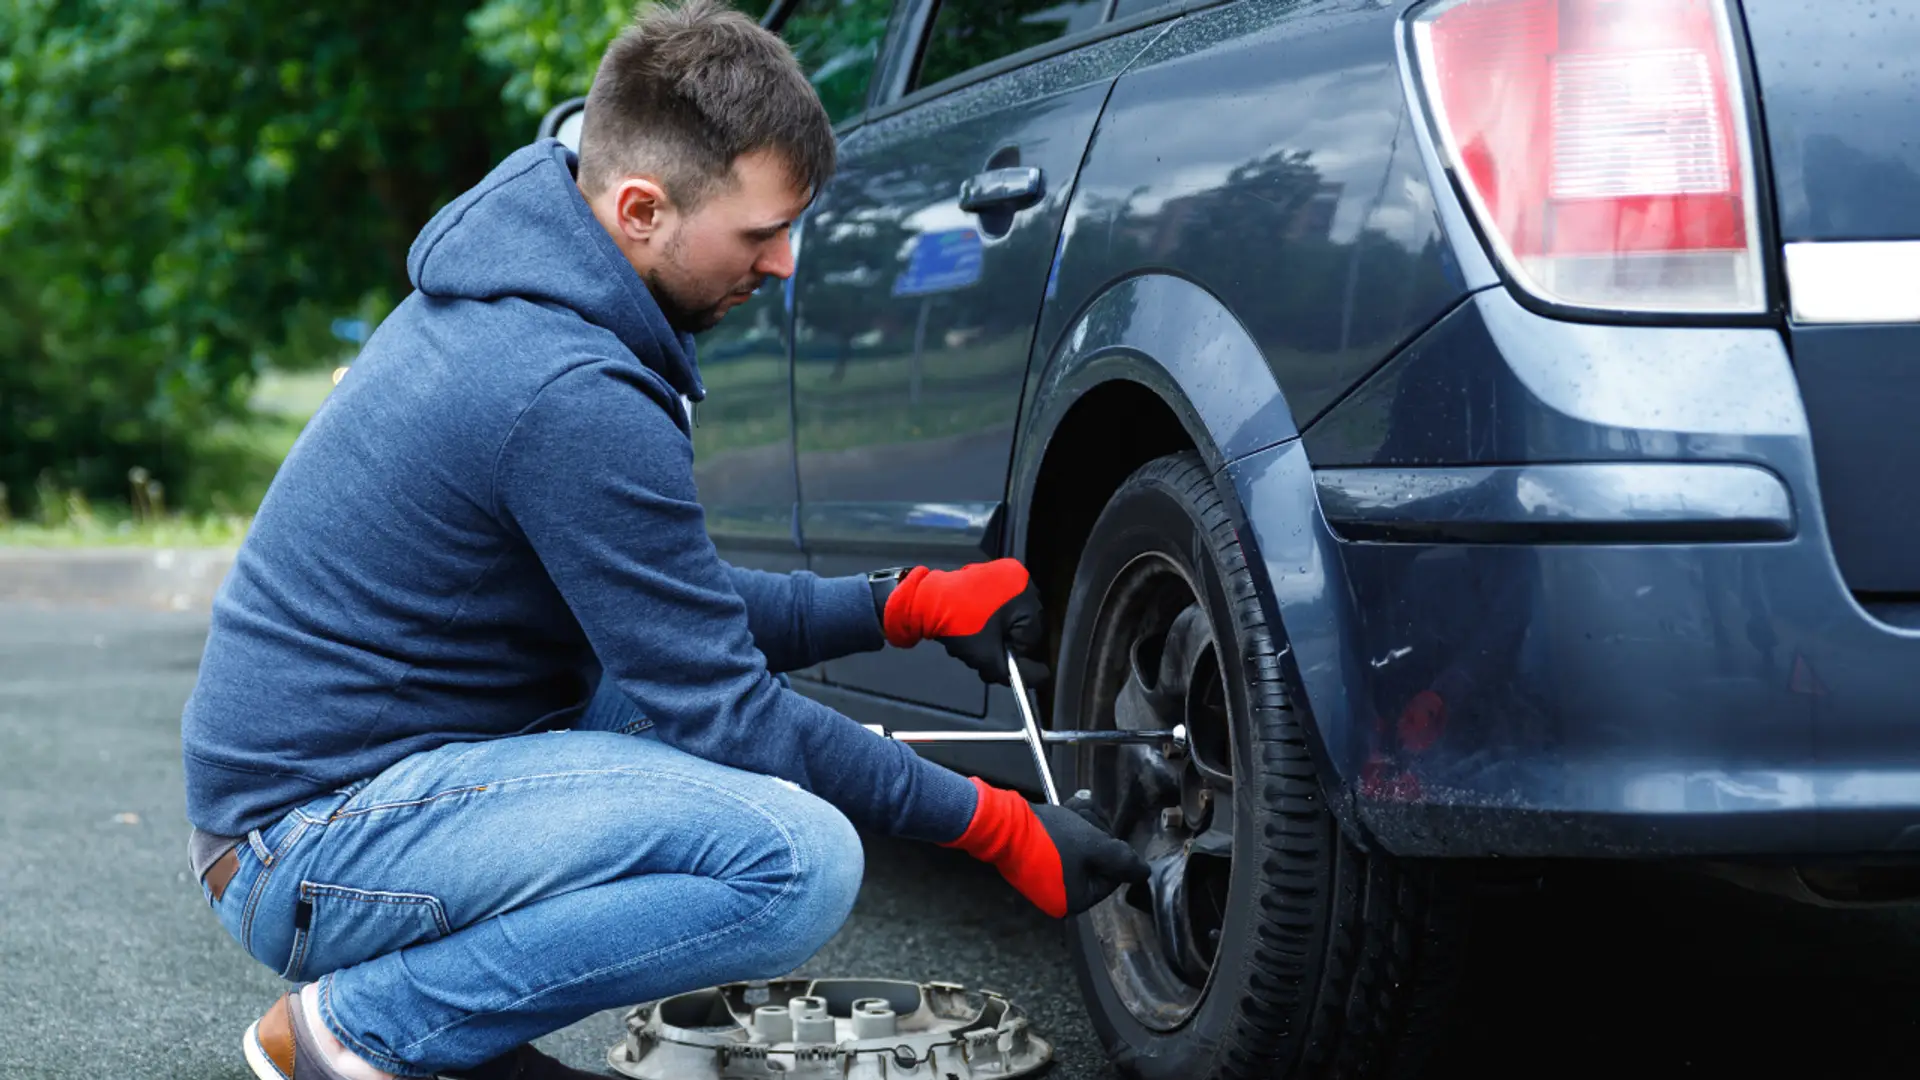
Top 10 Tools You Need to Change a Tire Quickly and Safely
Changing a tire doesn’t have to be a daunting task. Whether you're stuck on the highway or in your own driveway, having the right tools can save time, ensure safety, and make the process smoother—even for beginners. This guide covers the top 10 essential tools you need to change a tire quickly and safely.
Let’s dive in.
Why the Right Tools Matter
Having the proper equipment ensures:
- Faster tire replacement
- Minimized injury risk
- Prevention of vehicle damage
- Increased confidence in roadside emergencies
Whether you’re a seasoned driver or a beginner, these tools are must-haves.
- Spare Tire (Donut or Full-Size)
- What it is:
- A spare tire is a replacement tire stored in your vehicle for emergencies.
- Types:
- Donut Spare: Smaller, lighter, temporary use only
Full-Size Spare: Matches the other tires, offers longer use
Why you need it:
Without a good spare, no other tool will help. Ensure it’s:
Inflated regularly
Compatible with your vehicle
🔧 Pro Tip: Check the tread and pressure of your spare monthly.
- Car Jack (Hydraulic or Scissor Jack)
- Purpose:
- To lift your vehicle off the ground to remove the flat tire.
- Types:
- Scissor Jack: Compact, usually comes with the vehicle
Hydraulic Bottle Jack or Floor Jack: Easier, safer, and faster to use
Safety Tip:
Always place the jack on a solid, flat surface, and use jack points marked in your car manual.
- Lug Wrench (Tire Iron or Cross Wrench)
- What it does:
- Loosens and tightens lug nuts on your tire.
- Options:
- Standard Lug Wrench: Single lever arm
Cross Wrench (X-shape): Offers more torque
Telescoping Lug Wrench: Adjustable for better leverage
✅ Recommended: Keep a cross wrench with various socket sizes to match different lug nuts.
- Wheel Wedges or Chocks
- Why they matter:
- Prevents the car from rolling while jacked up.
- How to use:
- Place behind or in front of the opposite tires (depending on the slope)
Use with parking brake for extra security
⚠️ Important: Always use these, especially on hills or uneven ground.
- Flashlight or Headlamp
- Purpose:
- Improves visibility in low-light conditions or at night.
- Best Options:
- LED flashlight
Rechargeable headlamp for hands-free operation
💡 Pro Tip: Keep extra batteries or a power bank in your glove compartment.
- Work Gloves
- Use:
- Protects your hands from dirt, heat, sharp edges, and road debris.
- Features to look for:
- Non-slip grip
Cut-resistant material
Water-resistant for rainy conditions
🧤 Keeping a durable pair of gloves can also protect you during other roadside repairs.
- Tire Pressure Gauge
- Why you need it:
- Ensures your spare tire is safe to drive on.
- Digital vs Analog:
- Digital: More accurate and easier to read
Analog: No batteries needed
✅ Always check your spare’s pressure before installing it—ideally between 30–35 PSI (check your car manual for exact specs).
- Tire Repair Kit (Optional but Helpful)
- What’s included:
- Plug kit for small punctures
Sealant foam (like Fix-a-Flat) for temporary fixes
When to use:
To seal slow leaks or punctures if you’re far from help
As a backup when the spare is also flat or missing
🚫 Note: This is a temporary fix and not a substitute for proper tire replacement.
- Vehicle Owner’s Manual
- Why it’s essential:
- Tells you the jack points
Lists tire pressure
Shows lug nut pattern
Includes emergency procedures
📘 Keep a printed or digital copy handy for quick reference.
- Reflective Warning Triangle or Roadside Flares
- Safety First:
- Alerts other drivers that you’re stopped on the road.
- Best Practices:
- Place triangle 50–100 feet behind your car
Use battery-powered flares for night visibility
🚨 These can prevent accidents while you’re changing the tire.
Bonus Tools to Consider
While not mandatory, these extras can be useful:
Portable air compressor
Torque wrench (to properly tighten lug nuts)
Breaker bar (if lug nuts are too tight)
Tire inflator with sealant
Step-by-Step: How to Use These Tools to Change a Tire
Here’s a quick breakdown of how these tools work together:
Step 1: Ensure Safety
Park on a flat surface
Turn on hazard lights
Apply parking brake
Use wheel chocks
Step 2: Gather Tools
Get jack, lug wrench, spare tire, and gloves
Set up flashlight if needed
Step 3: Remove Flat Tire
Loosen lug nuts (do not remove yet)
Jack up the vehicle
Remove lug nuts and flat tire
Step 4: Install Spare Tire
Mount spare on the hub
Tighten lug nuts by hand
Lower the car and fully tighten nuts using a cross pattern
Step 5: Check Tire Pressure
Use pressure gauge on spare tire
Inflate if necessary
Frequently Asked Questions (FAQs)
Can I change a tire without a jack?
No. A jack is essential to lift the vehicle off the ground safely.
How long does it take to change a tire with these tools?
Typically 15 to 30 minutes, depending on your experience.
Should I drive long distances on a donut?
No. Donut spares are only for short-term use, usually under 70 miles and speeds below 50 mph.
Final Thoughts
Having a well-stocked tire-changing kit can turn a stressful roadside emergency into a manageable task. Whether you’re a solo driver, a commuter, or traveling with family, these 10 tools are vital to keeping you safe, prepared, and confident on the road.
🔧 Keep these tools organized in a portable storage bag or trunk box so they’re always ready when you need them.
Related Posts
© 2025 Invastor. All Rights Reserved
User Comments